| Deneve | |
|---|---|
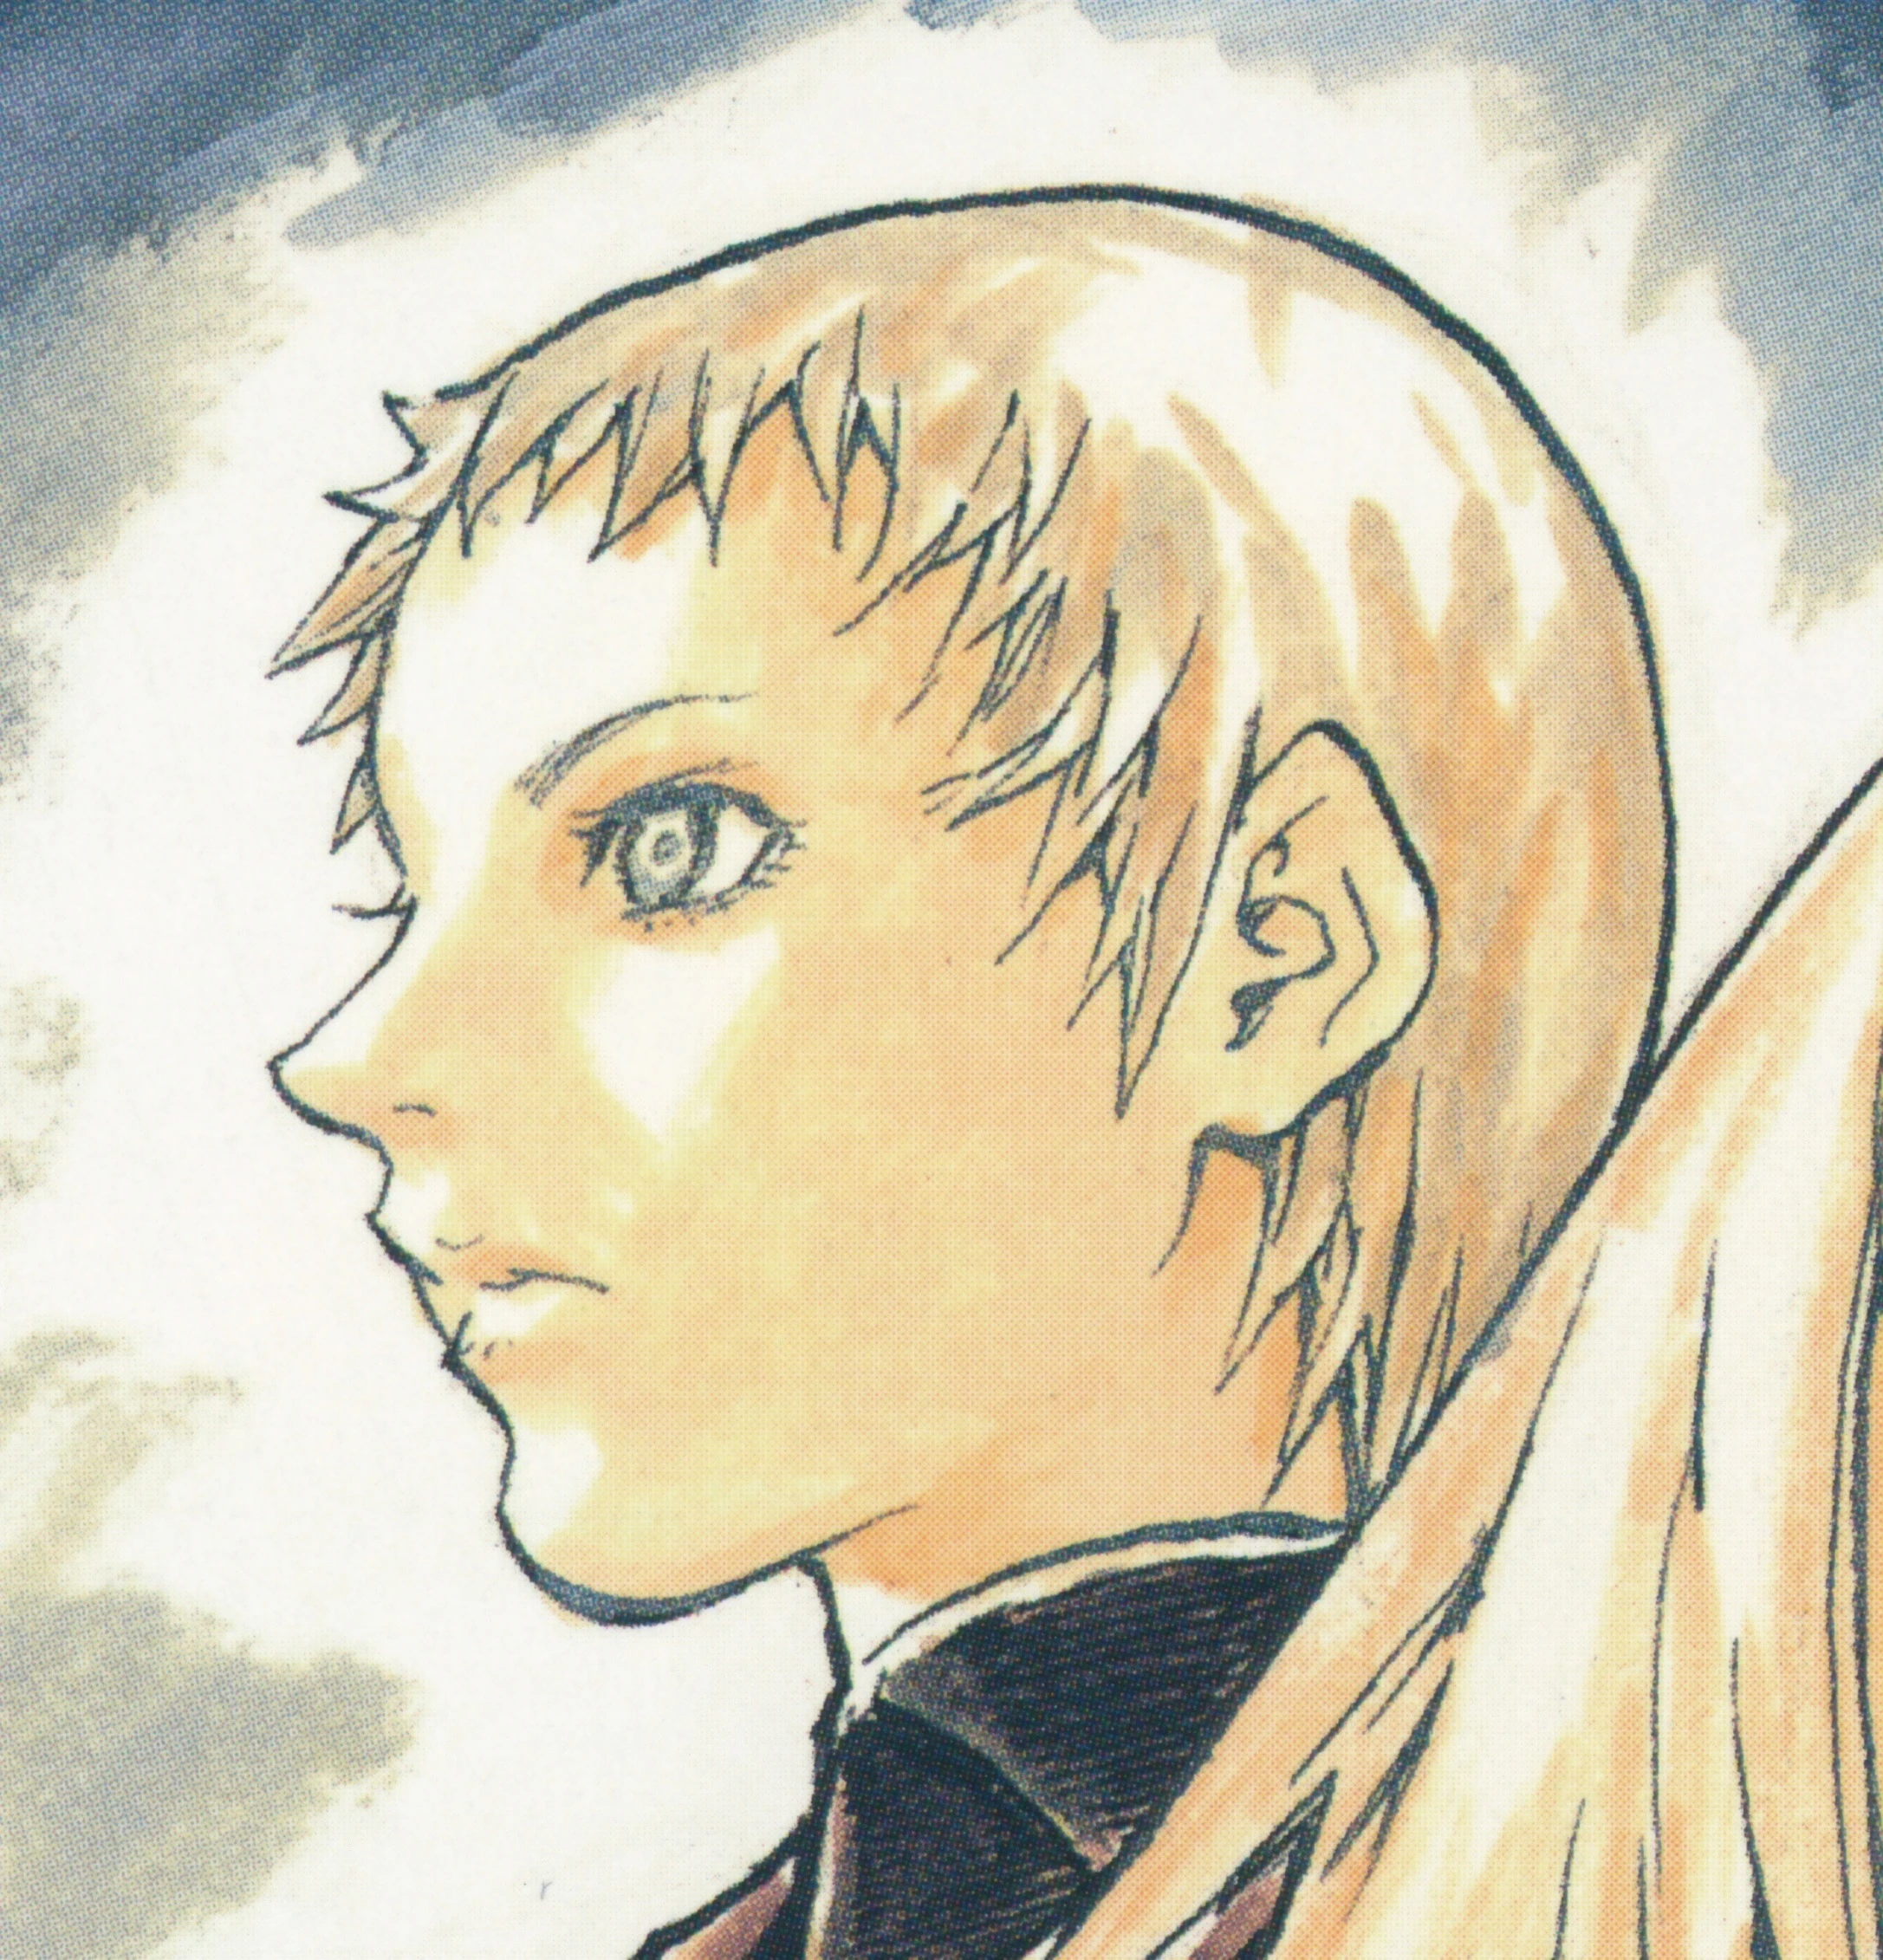 Deneve from Memorabilia
| |
|
VIZ Media name |
Deneve[1] |
|
Variant |
Denevu[2] |
|
Original name |
デネヴ[11] Denevu |
|
Rank No. |
15 of the Current Generation[12] |
|
Current status |
Manga: survives the Battle of the North, deserts Organization, 7-year timeskip |
|
Ties |
Organization, Paburo hunt, Ghosts, Holy City of Rabona |
|
Class |
Defensive:[13] 瞬間再生[14] Shunkan Saisei |
|
Technique |
|
|
Quote |
If there's no way to survive...then we'll seize life from the depths of hell[17] |
|
Anime voice |
Heike Beeck (de), |
|
First appearance |
|

Etymology[]
The original Japanese Claymore name, デネヴ, may be an attempted transliteration of "Deneuve," deriving from Latin, Italian and Spanish "of snow." Related to Latin feminine names "Neva" and "Neve" (snow). In Japanese, "Deneuve" is actually spelled ドヌーブ.
VIZ Media and most English scanlations use "Deneve." The FUNimation anime pronounces "Deneve" as den-uh-vah. The Kazé Deutschland anime uses "Denevu," pronounced den-ah-vu. Either are acceptable as neither language has the abrupt v/b sound in デネヴ.
Name may allude to French actress Catherine Deneuve as the Russian Денёв[18] suggests.
Appearance[]
Claymore warrior[]
Physical[]
Pixie hairstyle. Her large staring eyes and chiseled silhouette appears boyish, yet paradoxically feminine at the same time. A Deneve-like figure first appeared in Norihiro Yagi's earlier series, Angel Densetsu.[19]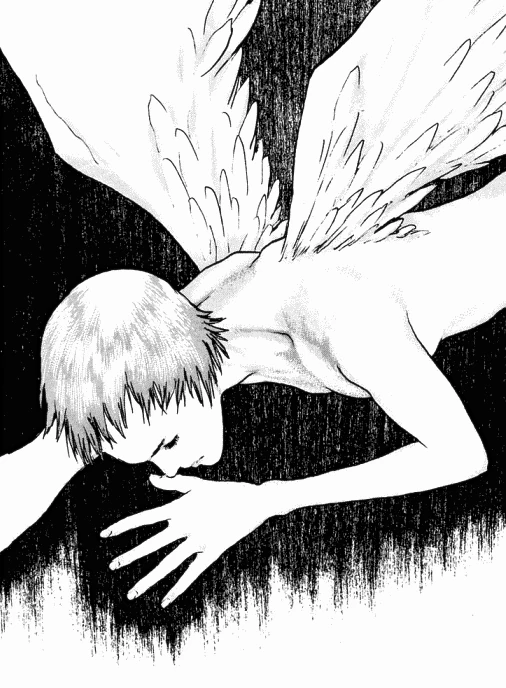
Proto-Deneve from Angel Densetsu
Deneve bears a strong resemblance to the US actress Jean Seberg in the 1957 film, Saint Joan.
Uniform[]
Deneve's uniform consists of an origami-shaped buckle, which holds 3-layer spaulders on her shoulders. The extra armor does not prevent the Paburo awakened from taking off her shoulder and arm.[20]
Ghost[]
During 7-year timeskip, she replaces her Organization uniform. But instead of the "Zettai Ryouiki" look—light armor worn over sleeved top, gaped stockings and short skirt—Deneve wears a black tank top, skin-tight bottoms and when in combat, spaulders and a breastplate.
Later in Scene 129, before engaging Cassandra, Deneve puts back on her old uniform.[21]
Personality[]
Calm demeanor, even under demanding situations. But can appear blase or sullen at times. Morose manner hides a tragic past that all warriors share. Never minces words with sister warriors to the point of provocation, as with her first meeting with Undine.[22] Among readers, Jean is often compared to Joan of Arc (Jeanne d'Ar), due to sharing a name, as well as the more positive personality traits. Deneve displays the more negative traits of the historic figure, who was often tactless with comrades.
In the aftermath of the Paburo hunt, Helen reports to Miria that Deneve often got into fights with other warriors.[23] But like the historic Joan, once Deneve becomes familiar with comrades, she will risk her life to protect them.
In Chaldean Numerology, the number 15 reduces to 6, the same number as Miria's—the number of maternal care.
Datasheet[]
The Organization baselines and assessment are based on data before the 7-year timeskip.
Baseline[]
Height: 175cm (5ft 8.89in).[24] Dominant arm: right[25]
|
|
Class[]
Deneve is a defensive type warrior, her innate ability being Instant Reproduction.[26]
Technique[]
Ultra-recovery[]
Instant Reproduction enables Ultra-recovery.[27]
Twin Sword[]
Agile baseline (B) enables Twin Sword.
History[]
Childhood[]
Hometown in southern region of Mucha.[28] In Pieta, during one-to-one talk with Undine, Deneve confesses how as a young child, she witnesses her older sister sacrifice her life to save Deneve from a Yoma. Great guilt results.[29]
Organization[]
Deveve is a classmate of Helen at Claymore school.[30] Deneve is one of four experimental subjects in which Dae implanted the flesh and blood of a lost loved one infected with Yoma. The emotional bond enables Deneve to control her awakening.[31]
Early days[]
After Deneve became a Claymore warrior, she would fight suicidally. Until Helen tells her: "It's perfectly natural to always want to stay alive. We're only human after all".[32]

Helen's advice to Deneve
Afterward, Deneve fights with survival of herself and her comrades in mind. Helen becomes Deneve's closest associate.
Paburo hunt[]
Deneve, as member of Paburo hunt, is forced to wait a week for Clare. When Clare arrives, Deneve joins the fight between Helen and Clare, till Miria breaks it up.[33]
Later in Paburo Mountains, the Paburo awakened tears off Deneve's shoulder and arm.[34] She regenerates it,[35] but is wounded again. After the awakened is killed, Miria speculates that everyone is awakened. Helen protests the idea that she is an awakened being that eats human flesh. Miria then tones down her original assertion and now says they are "half-awakened."
While no one was looking, Deneve regained consciousness and overhears the conversation about awakening and returning to human form. Near death, she decides she has nothing to lose by awakening and healing her wounds. Should she not be able to return, Helen and Clare are to behead her. Helen promises that Deneve will not suffer when they kill her. They stand ready with their swords as a vortex of Yoma power swirls from the awakening body.

Deneve awakens
Yoma power explodes. When vapors dissipate, Deneve has recovered, much to everyone's suprise. The wound in her belly has closed.
The four warriors become friends, pledging to meet again.[36] They do so in Battle of the North.
Battle of the North[]
Member of the battle group in Pieta during the Battle of the North. Deneve is assigned to Team Undine—Zelda (No. 24), Claudia (No. 36) and Yuliana (No. 43).[37] Initially hostile to Undine.[38]
Engagement I[]
During the first engagement with the three scouts, the Armadillo awakened nearly overcomes Teams Flora and Undine. During an individual combat, Deneve halfway beheads Armadillo. But Undine helps push down Deneve's sword.[39].
Later in a shed behind the Eastern Inn, Deneve discovers Undine shrunk to her true slender form. She sees her own past in Undine's. Deneve makes peace, saying the team will support Undine.[40]
Engagement II[]
Manga and anime diverge here.
Manga[]
Deneve appears in Yuma's flashback. In the banquet hall of the Eastern Inn, Miria holds a meeting with the battle group. She tells everyone to take a half dose of suppressant. If rendered unconscious during combat, a warrior will radiate no aura, making her appear dead to both the Northern Army and Organization.[41]
The Northern Army invades Pieta. After losing three awakened, the field commander Rigaldo decides to decapitate the battle group leadership. He kills Veronica, then Undine.[42]
He wounds Deneve. Helpless, Deneve despairs she could not protect Undine.[43]
After the fighting ends, Deneve is one of seven survivors.[44]
Anime[]
The Northern Army invades Pieta, but retreats. Rigaldo sequence similar to manga.[45] Deneve lies in the lobby of the Eastern Inn, together with the other wounded warriors.
Outside, Clare detects and chases Priscilla. Miria decides to pursue Clare. Deneve has recovered enough to accompany her comrades. She picks up Undine's sword and follows Miria and Helen up north. In the snowy landscape they meet Galatea, who points them to the volcano, where Clare and Priscilla fight.[46]
After Clare's defeat, Priscilla fights and defeats Miria, Deneve and Helen.[47]
Clare returns to fight and defeats Priscilla. Isley takes Priscilla away. Next day, Miria, Deneve, Helen and Clare desert the Organization. Deneve leaves with Helen. For Deneve, the anime series ends here.[48]
Deneve and Helen in Alfons
7-year timeskip[]
Alfons[]
Deneve is one of seven Ghosts who desert Organization. Hiding in mountains, they train with Yoma power-less techniques. Miria serves as captain.
Despite risking exposure, Ghosts rescue Dabi hunt.[49]
Later, back at a cavern hideout, Clare announces her intent to go south. Miria tests Clare's fighting ability. Satisfied, Miria says she will accompany Clare. But everyone decides to go en masse.[50]
Toulouse[]
Rabona[]
Miria, Deneve, Helen and Clare rescue Audrey's hunt from Riful.[51]
The Ghosts find Rabona under siege by Agatha.[52]. After Agatha's death, Miria relates her research on the Organization—Miria's theory.[53]
Left behind[]
Miria tells everyone to take care of personal business before the last battle with the Organization. Clare travels west to Lautrec—with Cynthia and Yuma—to find Raki. Deneve accompanies Helen south to their hometowns in Mucha.
Miria will wait in Rabona for everyone's return. But she adds one caveat: "When the time comes, I'll go forward alone if I must,"[54] foreshadowing the events of Scene 106.
Mucha[]
Dietrich[]
Deneve and Helen witness Dietrich's hunt struggling in river with awakened being. Only Dietrich is left standing.[55] Helen, then Deneve rescue the warriors.[56]
Isley[]
Dietrich, feeling indebted, insists on following them. Later, Helen senses an extreme Yoma aura from an unnamed town.[57]
Despite Dietrich's warning, Helen and Deneve visit the town anyway, hoping to catch a glance of Isley for a thrill. But Isley sees through their disguise and attacks.[58] Deneve and Helen fight for their lives.[59]
Demonic presence[]
Abyss Feeders arrive and begin 3-way fight with Helen, Deneve and Isley.[60] Helen's eye is wounded. Dietrich arrives, telling Deneve and Helen to keep still, or Feeders will attack.[61]
Dietrich, Deneve and Helen flee as Feeders destroy Isley.[62]
Lautrec[]
In Rabona, Dietrich tells Miria that Deneve is taking Helen west and find Clare's party, so Cynthia can heal Helen's eye.[63]
Clare[]
After Cynthia heals Helen's eye, Helen and Deneve search for Clare.[64] But the Destroyer fires a volley of parasitic rods.[65]
Incarnation of destruction[]
The Rods awakened into Hellcats, which attack Clare, Deneve and Helen.[66]
Priscilla[]
Clare confronts Priscilla for the first time since Clare's childhood. Clare is ready to abandon friends and her humanity to avenge Teresa's death.[67]
Clare's attacks fail. When Helen asks why Clare cannot awaken, Deneve says, "A great big block by the name of Jean."[68] Deneve and Helen grab Clare and flee Priscilla. They race toward Destroyer.[69]
Destroyer swallows Clare before Priscilla's arrival..[70] Priscilla fights Deneve and Helen. But Priscilla too gets swallowed.[71]
Return to Rabona[]
The Ghosts repel the awakened and Yoma invasion sent by the Organization.[72] After the fighting, Deneve grabs Tabitha by the collar, demanding where Miria is. Galatea says that Miria went to attack Organization Headquarters. And the invasion is in reprisal for Miria's attack.
Afterward, Deneve fights Tabitha, preventing her from going to Sutafu to save Miria.[73] But Ghosts decide to rescue Miria, anyway. Deneve leads group with Dietrich following.[74]
Sutafu[]
Anastasia's hunt[]
The Ghosts save Anastasia's hunt from awakeneds that escape a facility in the mountains north of headquarters.[75] The Anastasia and the rescued hunt joins the Ghosts. But at a juncture, Deneve lets Tabitha decide which path to take.[76] Tabitha chooses to destroy a Yoma-making facility over Miria.[77]
Abyssal One[]
Miria[]
At headquarters, the Ghosts find Miria battling an awakened Hysteria. Anastasia yanks Miria to earth.[78]
While Cynthia and Yuma regenerate Miria, Deneve and Ghosts decide to rescue the two warriors impaled on Hysteria's limbs.[79]
Rescue[]
Six warriors attack—Deneve, Anastasia, Dietrich, Nike, Helen and Tabitha. They use Anastasia's Winged Technique to stay aloft.[80]
Her aura hidden, Tabitha succeeds in approaching Hysteria, then clipping her wings. But when the others close in, Hysteria instantly retreats to earth. The warriors are left crossing each other's swords.[81]
Counterattack[]
Suddenly, Hysteria flies skyward, destroying Deneve's left arm, then Nike's right. High above the suspended warriors, Hysteria fires her bladed appendages. A blade carves out the side of Dietrich's abdomen. Only Anastasia, Helen and Tabitha remain uninjured.[82]
Deneve regenerates her side. She then talks Miria out of awakening. When Miria asks about Clare, Deneve reassures her that Clare is "resting" in Rabona.[83]
As Hysteria pursues Miria, Deneve implies that Miria is drawing Hysteria into a 3-way fight with Cassandra and Roxanne.[84]
Executive chamber[]
Deserted[]
After the deaths of Hysteria and Roxanne, Miria, Deneve and Helen invade the Executive facility. They find it deserted.[85] In flashback, Raki says personnel fled Headquarters when the resurrected Claymores awakened.[86]
Miria orders Deneve and Helen to search the premises. And that any personnel found are to be killed.[87]
Secret room[]
But Miria's orders are a ploy to distract her comrades as Miria relocates a pilastered portal. She forces open the wall panel, leading to a downstairs chamber, where specimens of the Dragons' Descendents are kept. She previously visited here nine years ago.[88]
End of Organization[]
After killing Limt and the Dragons' Descendents, Miria is strangely reticent and reveals little to Deneve and Helen.
Outside, as the Ghosts regenerate the wounded on the battlefield, Miria announces the death of Limt.[89]
Cassandra[]
Miria's new plan[]
After Deneve relates the events in Lautrec,[90] Miria now understands Clare's situation.[91]
She realizes that Clare is trapped with very person that appeared as a phantasm as Hysteria died. And the strange voice of the dying Hysteria was actually that of Clare's enemy. Further, when Cassandra spoke, though her words were not audible, her mouth moved the same way.
She speculates that Cassandra, reanimated by this person's Yoma energy, is also under this person's control, and is traveling to Rabona to free this same person.[92]
Helen wants to stop Cassandra, but Miria decides othewise. She envisions freeing both Clare and Priscilla before Cassandra's arrival. Miria is counting on Cassandra breaking free of Priscilla's mental influence, then fighting Priscilla.[93]
Return to Rabona[]
Using Raki's plan to return by boat, the Ghosts arrive in Rabona before Cassandra. The Ghosts meet awakened beings in the hills. Deneve warns Raki to keep his distance.
Inside the deserted city, the Ghosts are greeted by a tearful Clarice, then Galatea, Galk and Sid. When Miria asks what happened, Galatea leads the Ghosts to the outskirts of town.[94]
The awakened form of the unknown Priscilla is half-emerged from the cocoon. Deneve confirms this is the awakened that she saw in Lautrec.[95]
Two combats[]
After Clare emerges from the cocoon, Miria fails to kill Priscilla. Instead, a combat between the Destroyer and Priscilla engulfs the awakened audience. Two awakeneds are thrown into Rabona.
Deneve and Co. confront one of them—the Origami awakened. Origami attacks Sid, who is yanked back by Deneve.[96]
Miata attacks and creates a massive wound, but Origami instantly regenerates. Deneve observes that only a single attack that destroys most of the body will work.[97]
Additional details[]
Audio[]
From Claymore Intimate Persona, 覚醒 Kakusei (Awakening): Deneve—Hana Takeda 4:09
References[]
Tankōbon Claymore volumes cited are VIZ Media (en-us) editions, unless otherwise noted. Manga scenes (chapters) not yet translated cite Shueisha tankōbon (ja) editions. Manga scenes not yet published in tankōbon form cite Jump SQ (ja) editions. Fragments of Silver Omnibus (総集編 銀の断章 Gin no Danshou) 1–3, Shueisha, are only available in Japanese. Anime scenes (episodes) cited are FUNimation (en-us) editions, unless otherwise noted.
- ↑ Claymore 5, Scene 25, p. 126
- ↑ Claymore, Kazé Deutschland, Anime Scene 9
- ↑ Claymore 5, Tokyopop, Scene 25, p. 126
- ↑ Claymore 5, Ediciones Glénat España, Scene 25, p. 126
- ↑ Claymore 5, Star Comics, Scene 25, p. 122
- ↑ Claymore 5, Glénat Édition Française, Scene 25, p. 126
- ↑ Claymore 5, Daewon CI, Scene 25, p. 126
- ↑ Claymore 5, Comix-ART, Scene 25, p. 126
- ↑ Claymore 5, Culturecom, Scene 25, p. 126
- ↑ Claymore 5, Ever Glory, Scene 25, p. 126
- ↑ Claymore 5, Shueisha, Scene 25, p. 126
- ↑ Fragments of Silver Omnibus 3, "Yoma War Record III," p. 730
- ↑ Fragments of Silver Omnibus 2, "Yoma War Record II," p. 686
- ↑ Fragments of Silver Omnibus 2, "Yoma War Record II," p. 686
- ↑ Fragments of Silver Omnibus 2, "Yoma War Record II," p. 686
- ↑ Claymore 11, Scene 60, p. 91
- ↑ Claymore 19, Scene 103, p. 40
- ↑ Claymore 5, Comix-ART, Scene 25, p. 126
- ↑ Densetsu Angel 9, p. 40
- ↑ Claymore 5, Scene 27, p. 168; Claymore, Anime Scene 9
- ↑ Jump SQ, September 2012, Claymore, Scene 129, pp. 629–631
- ↑ Claymore 9, Scene 51, p. 163; Claymore, Anime Scene 18
- ↑ Claymore, Anime Scene 11
- ↑ Fragments of Silver Omnibus 2, "Yoma War Record II," p. 686
- ↑ Fragments of Silver Omnibus 2, "Yoma War Record II," p. 686
- ↑ Fragments of Silver Omnibus 2, "Yoma War Record II," p. 686
- ↑ Fragments of Silver Omnibus 2, "Yoma War Record II," p. 686
- ↑ Claymore 15, Scene 82, p. 154
- ↑ Claymore 10, Scene 55, pp. 116–117; Claymore, Anime Scene 20
- ↑ Claymore, Anime Scene 11
- ↑ Jump SQ, June 2013, Claymore, Scene 138, pp. 669–670
- ↑ Claymore 10, Scene 55, p. 118; Claymore, Anime Scene 20
- ↑ Claymore 5, Scene 25, pp. 125–126; Claymore, Anime Scene 9
- ↑ Claymore 5, Scene 27, p. 168; Claymore, Anime Scene 10
- ↑ Claymore 5, Scene 27, p. 180; Claymore, Anime Scene 10
- ↑ Claymore 6, Scene 31, p. 114; Claymore, Anime Scene 11
- ↑ Claymore 9, Scene 51, p. 171; Claymore, Anime Scene 18
- ↑ Claymore 9, Scene 51, p. 163; Claymore, Anime Scene 18
- ↑ Claymore 10, Scene 54, pp. 77–78; Claymore, Anime Scene 19
- ↑ Claymore 10, Scene 55, p. 119; Claymore, Anime Scene 20
- ↑ Claymore 12, Scene 66, pp. 83–87
- ↑ Claymore 10, Scene 57, p. 177
- ↑ Claymore 11, Scene 58, p. 22
- ↑ Claymore 12, Scene 66, pp. 93–94
- ↑ Claymore, Anime Scene 23
- ↑ Claymore, Anime Scene 24
- ↑ Claymore, Anime Scene 25
- ↑ Claymore, Anime Scene 26
- ↑ Claymore 12, Scene 65, pp. 64–65
- ↑ Claymore 12, Scene 67, pp. 132–133
- ↑ Claymore 13, Scene 70, pp. 26–31
- ↑ Claymore 14, Scene 77, p. 125
- ↑ Claymore 15, Scene 79–Scene 80, pp. 52–76
- ↑ Claymore 15, Scene 82, p. 154
- ↑ Claymore 16, Scene 84, p. 48
- ↑ Claymore 16, Scene 85, pp. 52–55
- ↑ Claymore 16, Scene 86, p. 84
- ↑ Claymore 16, Scene 86, p. 98
- ↑ Claymore 16, Scene 87, p. 110
- ↑ Claymore 16, Scene 88, pp. 128–129
- ↑ Claymore 16, Scene 88, p. 135
- ↑ Claymore 16, Scene 88, p. 148
- ↑ Claymore 17, Scene 90, p. 14
- ↑ Claymore 17, Scene 93, p. 114
- ↑ Claymore, Scene 94, pp. 150–151
- ↑ Claymore 17, Scene 95, p. 164
- ↑ Claymore 18, Scene 100, p. 150–151
- ↑ Claymore 18, Scene 101, p. 170
- ↑ Claymore 18, Scene 103, p. 40
- ↑ Claymore 19, Scene 104, p. 93
- ↑ Claymore 19, Scene 105, p. 125
- ↑ Claymore 20, Scene 108, pp. 21–24
- ↑ Claymore 20, Scene 109, p. 52
- ↑ Claymore 20, Scene 109, p. 67
- ↑ Claymore 20, Scene 111, p. 122
- ↑ Claymore 20, Scene 112, p. 157
- ↑ Claymore 20, Scene 113, p. 167
- ↑ Jump SQ, January 2012,Claymore, Scene 121, p. 205
- ↑ Jump SQ, February 2012, Claymore, Scene 122, pp. 615–621
- ↑ Jump SQ, February 2012, Claymore, Scene 122, pp. 621–624
- ↑ Jump SQ, February 2012, Claymore, Scene 122, pp. 624–626
- ↑ Jump SQ, February 2012, Claymore, Scene 122, pp. 631–633
- ↑ Jump SQ, March 2012, Claymore, Scene 123, p. 625
- ↑ Jump SQ, March 2012, Claymore, Scene 123, p. 639
- ↑ Jump SQ, June 2012, Claymore, Scene 126, p. 240
- ↑ Jump SQ, June 2012, Claymore, Scene 126, pp. 240–241
- ↑ Jump SQ, June 2012, Claymore, Scene 126, pp. 241–242
- ↑ Jump SQ, June 2012, Claymore, Scene 126, p. 243–245
- ↑ Jump SQ, June 2012, Claymore, Scene 126, pp. 258–261
- ↑ Claymore 19, Scene 104–Scene 105, pp. 93–125
- ↑ Jump SQ, July 2012, Claymore, Scene 127, p. 273
- ↑ Jump SQ, July 2012, Claymore, Scene 127, pp. 274–276
- ↑ Jump SQ, July 2012, Claymore, Scene 127, pp. 277–279
- ↑ Jump SQ, August 2012, Claymore, Scene 128, pp. 334–337
- ↑ Jump SQ, August 2012, Claymore, Scene 128, pp. 338–341
- ↑ Jump SQ, November 2012, Claymore, Scene 131, pp. 376–377
- ↑ Jump SQ, November 2012, Claymore, Scene 131, pp. 390–391