| Limt | |
|---|---|
 Limt in anime | |
|
VIZ Media name |
Limt[1] |
|
Variant |
Rimuto[2][3] (de |
|
Original name |
リムト[9] Rimuto |
|
Rank |
Chief[10] |
|
Current status |
Killed by Miria |
|
Ties |
Organization |
|
Sector |
Executive |
|
Duties |
Leading Organization[11] |
|
Quote |
When they live over-long, their thoughts turn to wickedness. Warriors that die after a moderate period...are the better warriors.[12] |
|
Anime voice |
Barry Yandell (en-us), |
|
First appearance |
|
Etymology[]
リムト fore-clipped version of クリムト (Klimt), alluding to Austrian Symbolist painter, Gustav Klimt (1862–1918).
"Limt" official VIZ Media translation as of 3 July 2012.[13] "Rimuto" last used by VIZ Media in Scene 5.[14]
FUNimation anime (en-us) uses "Rimuto."[15]
Chief (長) of Executive council, administrating the Organization. Referred as "our leader Limt at the top."[16]
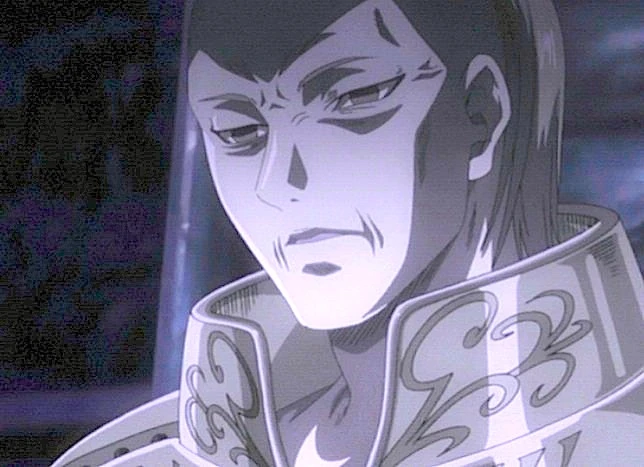
Appearance[]
50ish. Brushed-back, thinning hair covering web of enlarged veins. Wears robe with pieces of armor.[17] Anime version has thick hair.[18]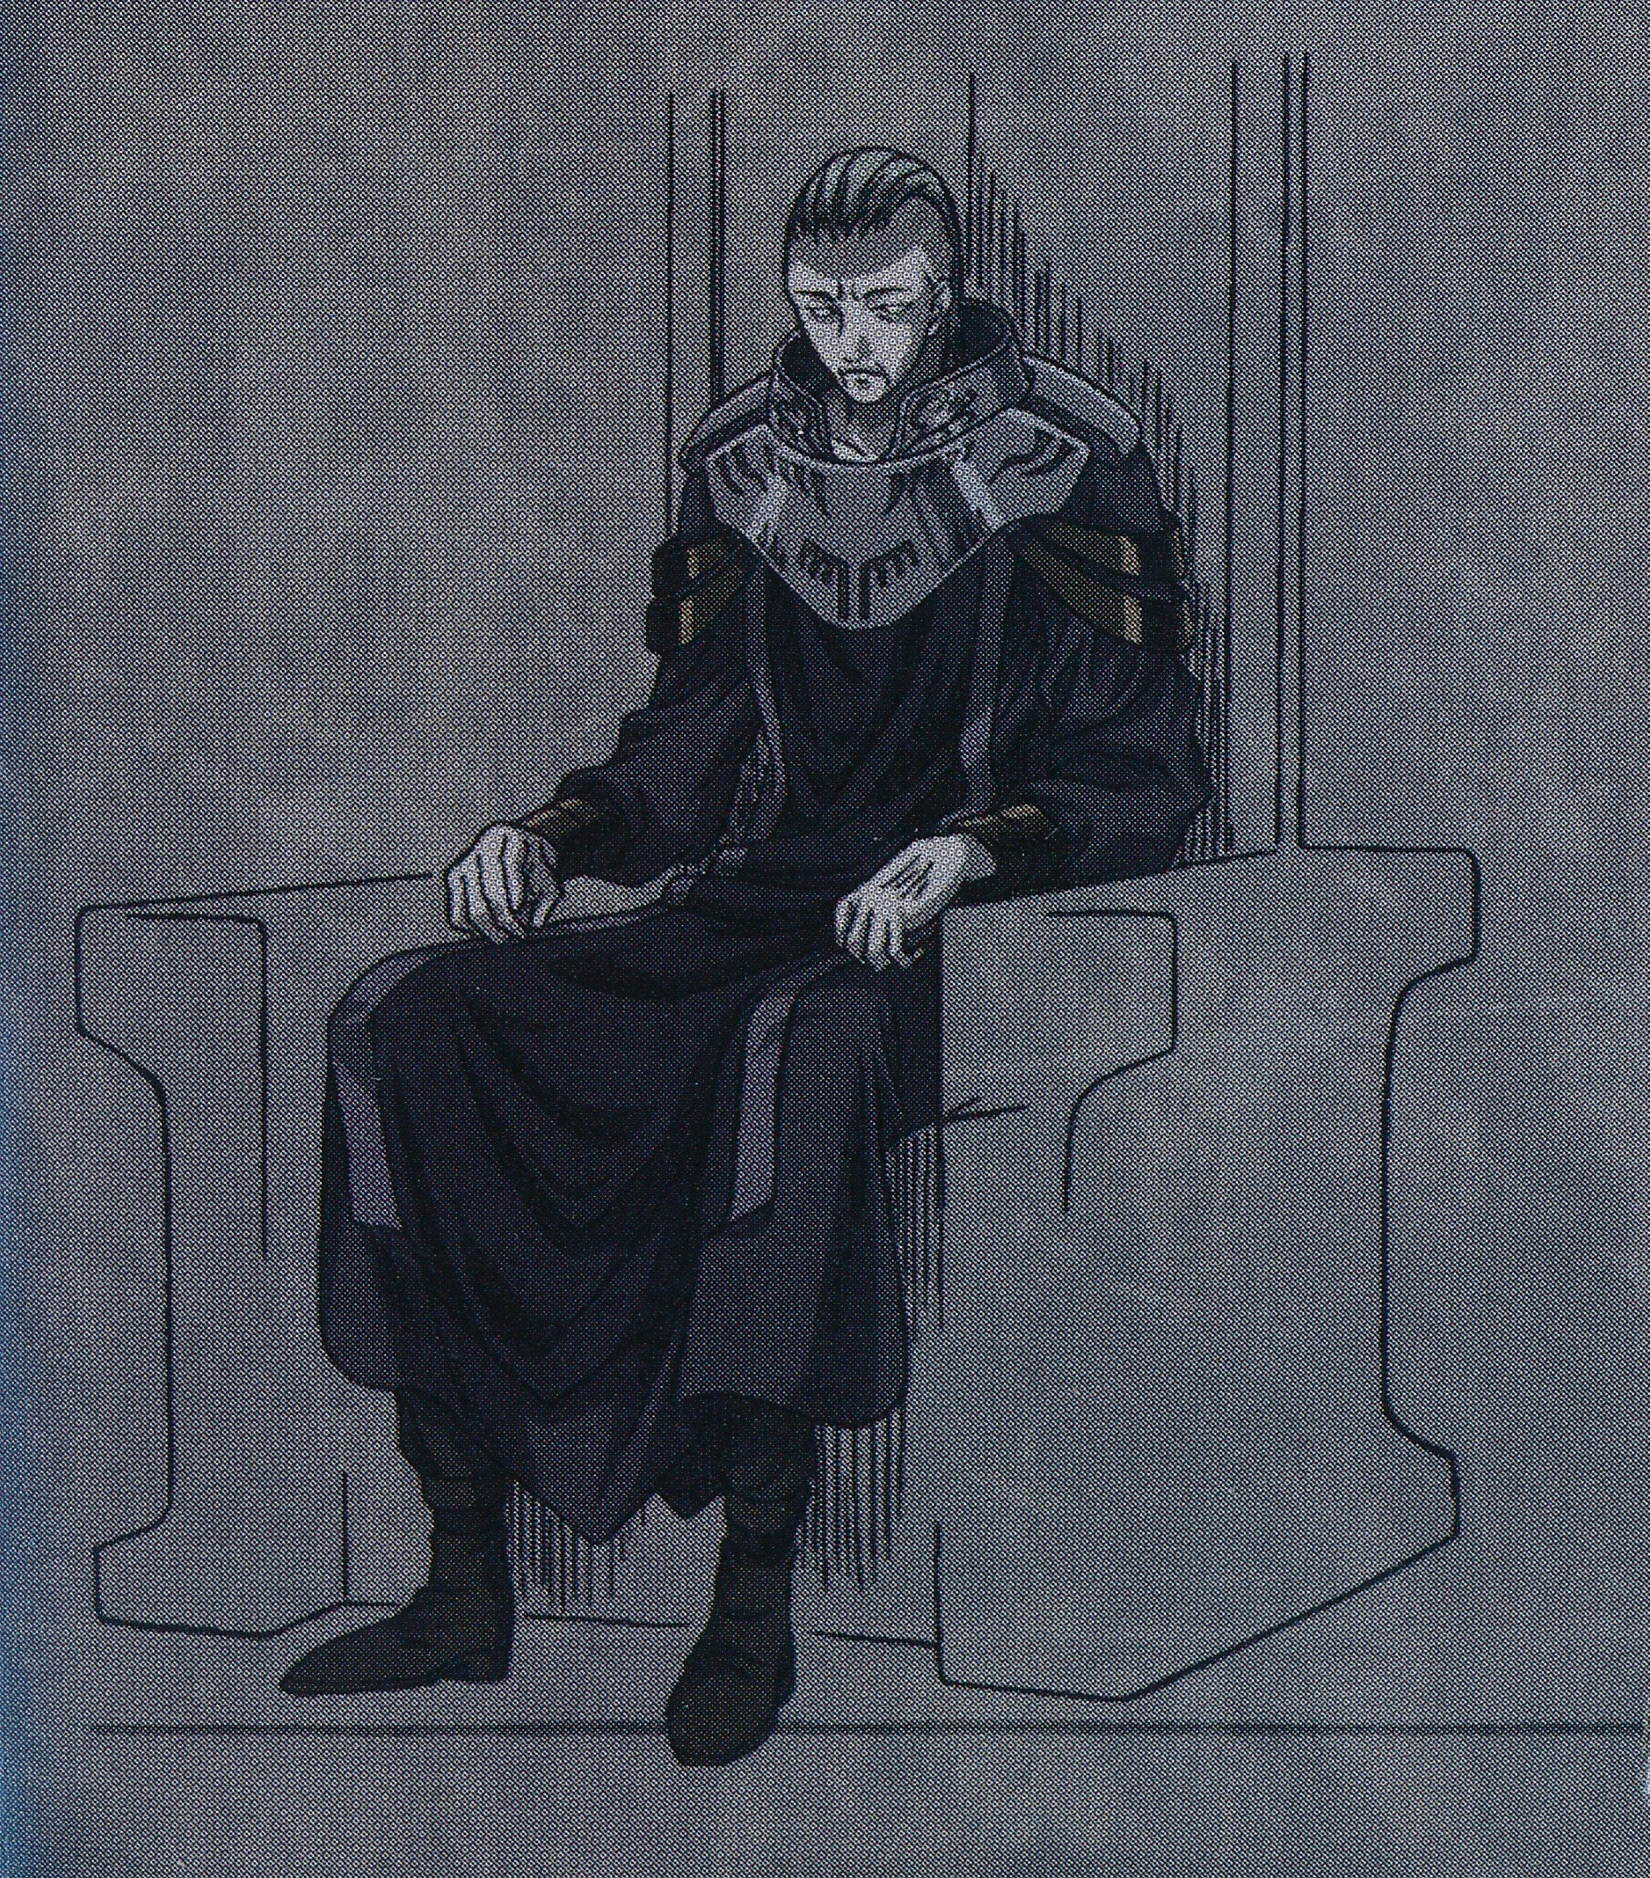
Limt seated
Personality[]
Aristocratic demeanor. Unflappable. Never appears surprised by any situation.[19] FUNimation dub of anime gives impression of Edwardian, English gentleman type.[20]
History[]
Early life unknown. From mainland.[21]
Gonahl[]
Executive has meeting with Rubel. The awakened body of Ophelia has been found in mountain lake. The chief, Limt, asks if Clare killed Ophelia. Rubel expresses doubts.[22]
Executive members debate whether Clare's transplant of Teresa succeeded or not. Limt orders Ermita to find Clare.[23][24]

Decision to find Clare
Battle of the North[]
During Battle of the North, Limt gets into a argument with Galatea, who criticizes the sacrifice of 24 warriors, saying they are simply buying time to complete Alicia.[25]
7-year timeskip[]
After 7-year timeskip, Clarice reports finding only 17 grave-marks to Executive. Report ignored. Reassigned to help No. 4, Miata.[26]
Later, Limt, satisfied with Clarice's "stabilizing" Miata's mind, sends them to execute Galatea for desertion.[27]
Dae[]
At Executive meeting, Dae shows Priscilla's arm, which he extracted from Raki's shoulder. Dae asks whose arm is it.[28]
Later, Dae asks Limt for permission to reactivate a project: resurrecting former No. 1s, but this time using Priscilla's arm. Limt authorizes Dae to restart project.[29]
Rebellion[]
Panic[]
In the Executive chamber, Men in Black assess the situation—trainees deserting and the rebels' impending attack.[30]
Inquiry[]
Rafutera reports to Limt. He asks why she did not sense Miria's presence. She says since she was not asked about Miria's Yoma aura, she did think it necessary to answer. Limt now realizes that Rafutera has betrayed the Organization. He asks her why.[31]
Rafutera say during the final attack on Miria, the warriors felt confusion, fear, anger and sorrow as well as love and respect. Still half-human, the warriors hesitated at killing a sister warrior.[32]
Judgment[]
Limt's inquiry is actually Rafutera's court-martial. Rafutera is impaled by spears as punishment (and taken prisoner).[33]
Dae still needs several hours to deploy the resurrected No. 1s. To buy time, Limt orders all "things" (Abyss Feeders) released outside, despite their indiscriminate attacks. Loyal personnel must stay indoors for their own personal safety.[34]
Resurrected[]
Dae releases the the three resurrected No. 1s. Despite panicky subordinates, Limt is unconcerned as the three former No. 1s, Hysteria, Roxanne and Cassandra, proceed on their mission of annihilation.[35]
Executive chamber[]
Deserted[]
The warriors find it deserted.[36] In flashback, Raki says that the Organization fled Headquarters when Cassandra, Roxanne and Hysteria awakened.[37]
Miria orders Deneve and Helen to search the premises. And that any personnel found are to be killed.[38]
Secret room[]
But Miria's orders are a ploy to distract her comrades as Miria relocates a pilastered portal. She forces open the wall panel, leading to a downstairs chamber, where a specimen of the Dragons' Descendents is chained. Tubes attached to the body provide life-support.[39]
Limt[]
Limt suddenly appears. For unexplained reasons, he has stayed behind. He notices that Miria appears familiar with the dragon. Then he points out the unawakened, humanoid form hanging high from the ceiling.[40]
He reveals the true name of the Dragons' Descendents—the アサラカム[41] (Asarakamu). The Asarakamu are a hermaphroditic species. They have a lifespan of 200 years.[42]
The smaller, humanoid specimen, when awakened, would become like the larger, dragon-like specimen. Once they awaken, they cannot revert back to humanoid form.[43]
When the tissues of both forms are combined, a mobile parasite results. When implanted in humans, the parasite takes over the brain and the hosts develop into Yoma.[44]
Miria's reply[]
Miria admits being inside the chamber nine years ago, then realizing the source of the Yoma. She exposes the myth perpetrated by the Organization—that Yoma eat their victims and absorb their memories, then impersonate the victims. The reality is that the parasite eventually leaves the host, due to the Yoma body breaking down from excessive shapeshifting.[45]
She notes that the Organization violated their own rule about never killing humans, as they turned humans into Yoma, then ordered their warriors to kill these former humans. She beheads Limt, then cuts the life-support tubes of the prisoners.[46]
The Dragon bodies instantly decay.[47]
Organization's end[]
In an anticlimax, Miria is strangely reticent and reveals little to Deneve and Helen.
Outside, as the Ghosts regenerate the wounded on the battlefield, Miria announces the death of Limt.[48]
In the original magazine appearance of Scene 127, the 3rd person narrative mentions the burial of Limt by the warriors.[49] This is left out in the tankōbon versions.
References[]
Tankōbon Claymore volumes cited are VIZ Media (en-us) editions, unless otherwise noted. Manga scenes (chapters) not yet translated cite Shueisha tankōbon (ja) editions. Manga scenes not yet published in tankōbon form cite Jump SQ (ja) editions. Fragments of Silver Omnibus (総集編 銀の断章 Gin no Danshou) 1–3, Shueisha, are only available in Japanese. Anime scenes (episodes) cited are FUNimation (en-us) editions, unless otherwise noted.
- ↑ Claymore 20, Scene 110, p. 85
- ↑ Claymore 2, Tokyopop, Scene 5, p. 23
- ↑ Claymore 2, Scene 5, p. 23
- ↑ Claymore 2, Ediciones Glénat España, Scene 5, p. 23
- ↑ Claymore 2, Glénat Édition Française, Scene 5, p. 23
- ↑ Claymore 2, Star Comics, Scene 5, p. 21
- ↑ Claymore, Yamato Video, Anime Scene 3
- ↑ Claymore 2, Comix-ART, Scene 5, p. 23
- ↑ Claymore 2, Shueisha, Scene 5, p. 23
- ↑ Fragments of Silver Omnibus 1, "Yoma War Record I," p. 499
- ↑ Fragments of Silver Omnibus 1, "Yoma War Record I," p. 499
- ↑ Claymore 11, Scene 61, p. 108
- ↑ Claymore 20, Scene 110, p. 85
- ↑ Claymore 2, Scene 5, p. 23
- ↑ Claymore, Anime Scene 3
- ↑ Fragments of Silver 1, "Yoma War Record I," p. 499
- ↑ Claymore 8, Scene 41, p. 40
- ↑ Claymore, Anime Scene 15
- ↑ Claymore 21, Shueisha edition, Scene 114, pp. 18–24
- ↑ Claymore, Anime Scene 15
- ↑ Claymore 21, Shueisha edition, Scene 115, p. 67
- ↑ Claymore 8, Scene 41, pp. 39–40; Claymore, Anime Scene 15
- ↑ Claymore 8, Scene 41, p. 42; Claymore, Anime Scene 15
- ↑ Claymore 8, Scene 41, p. 41; Claymore, Anime Scene 15
- ↑ Claymore 11, Scene 61, pp. 103–106
- ↑ Claymore 12, Scene 68, pp. 136–142
- ↑ Claymore 13, Scene 73, p. 96
- ↑ Claymore 20, Scene 110, pp. 76–83
- ↑ Claymore 20, Scene 110, pp. 85–87
- ↑ Claymore 21, Scene 114, p. 18
- ↑ Claymore 21, Scene 114, p. 19
- ↑ Claymore 21, Scene 114, pp. 20–21
- ↑ Claymore 21, Scene 114, p. 22
- ↑ Claymore 21, Scene 114, pp. 23–24
- ↑ Claymore 21, Scene 115, p. 67
- ↑ Claymore 23, Scene 126, p. 10
- ↑ Claymore 23, Scene 126, pp. 10–11
- ↑ Claymore 23, Scene 126, pp. 11–12
- ↑ Claymore 23, Scene 126, pp. 12–15
- ↑ Claymore 23, Scene 126, p. 16
- ↑ Claymore 23, Scene 126, p. 16
- ↑ Claymore 23, Scene 126, p. 17
- ↑ Claymore 23, Scene 126, pp. 16–17
- ↑ Claymore 23, Scene 126, p. 18
- ↑ Claymore 23, Scene 126, p. 19
- ↑ Claymore 23, Scene 126, p. 20–24
- ↑ Claymore 23, Scene 126, p. 25
- ↑ Claymore 23, Scene 126, pp. 26–31
- ↑ Jump SQ, July 2012, Claymore, Scene 127, p. 278