| Voracious Eater | |
|---|---|
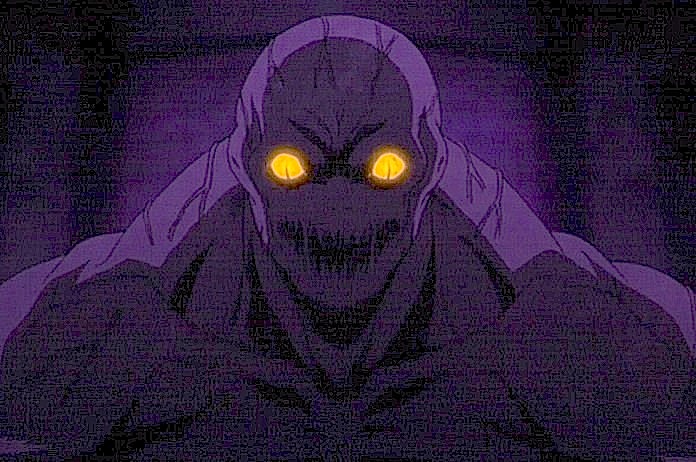 Voracious Eater from anime | |
|
VIZ Media name |
Voracious Eater[1] |
|
Variant |
Vielfraß[2] |
|
Original name |
異常貪欲者[6] Ijō don'yoku-sha |
|
Current status |
Killed by Clare |
|
Ties |
Organization |
|
Class |
Unknown |
|
Quote |
You weren't aiming for my arm...you wanted my head.[7] |
|
Anime voice |
Elmar Gutmann (de), |
|
First appearance |
|
Etymology[]
Organization code word or euphemism for awakened being.[8]
Appearance[]
Larger version of the common Yoma.
Datasheet[]
Displays a high strength baseline, with the associated high shapeshifting ability. The Yoma impersonates the mummified relics of a saint. The relics are displayed in a coffin inside the baptismal chamber of Rabona Cathedral.[9]
History[]
Early life as a human unknown.
Undercover[]
Rubel sends Clare on covert assignment to Holy City of Rabona. Clare was apparently chosen by Organization due to Raki, who will play role of Clare's younger brother.[10]
In a prearranged meeting, Clare meet Father Vincent at the cathedral.[11] Later they have a night meeting in a belfry tower room. Vincent relate the killings inside the cathedral.[12]
Returning to the inn, Clare runs into interference from two guards, Galk and Sid. But Clare escapes.[13]
After two more murders, Clare suspects the Yoma is a "Voracious Eater."[14]
Combat[]
On her way to the cathedral, Clare again fights Galk and Sid. But someone screams from inside the cathedral.[15] Clare rushes inside and finds a body. Then the Yoma attacks from behind.[16]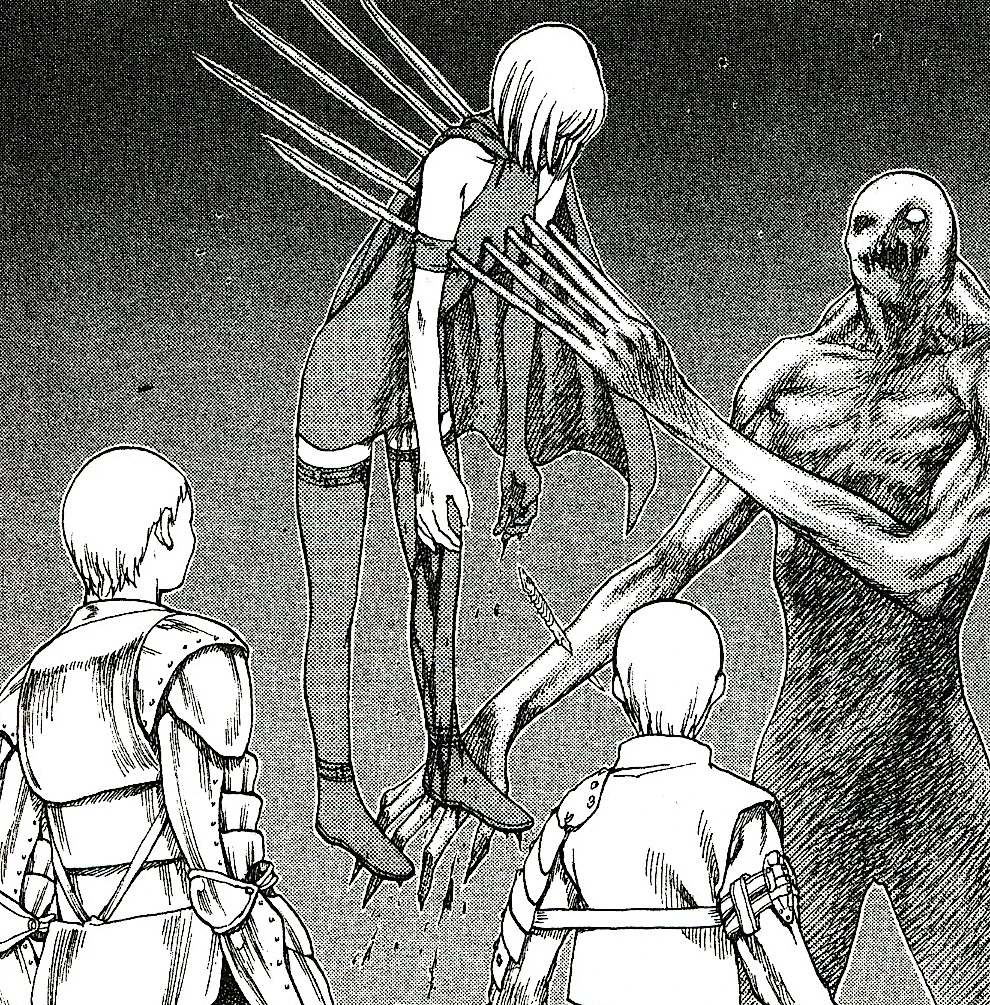
Impaled by the Yoma
She saves the lives of Sid, then Galk, but is impaled and grievously wounded. Despite Sid's protests, Galk picks up Clare's body and takes her to Father Vincent's bedroom, where she lies comatose for two days.[17]
When she recovers, makes a request of Father Vincent. There is an emergency meeting of all the cathedral staff in the great hall. There Clare makes her surprise appearance. She examines everyone but discovers everyone present is human.[18]
Clare realizes the Yoma could be a corpse in baptismal chamber. She rushes there to find the Yoma revived and threatening Raki.[19]
Resurrection[]
In the baptismal chamber, the Yoma, posing as a corpse, rises from a coffin. He attacks Raki, but Clare arrives in time. Galk and Sid then arrive and the three fight the Yoma.[20]
The Yoma takes Galk's sword and fights Clare, armed only with knives.[21]
Surprise[]
Raki gives Galk a statue, which Galk throws to Clare. When the Yoma strikes the statue with the sword, the statue breaks apart, revealing a Claymore sword.[22]

Clare's secret
Clare cuts off the Yoma's arm. But the Yoma still holds off his attackers with his extensible claws.[23]
Galk's stratagem[]
Galk inexplicably charges the Yoma, who pierces Galk's body. Claws caught in Galk's armor, Galk gives the signal—Clare attacks. She cuts off the Yoma's other arm. Then cuts the Yoma in two.[24]
Aftermath[]
Later, Rubel tells Clare that the Yoma in Rabona was simply an above average Yoma, not a Voracious Eater or Awakened Being.[25]
References[]
Tankōbon Claymore volumes cited are VIZ Media (en-us) editions, unless otherwise noted. Manga scenes (chapters) not yet translated cite Shueisha tankōbon (ja) editions. Manga scenes not yet published in tankōbon form cite Jump SQ (ja) editions. Fragments of Silver Omnibus (総集編 銀の断章 Gin no Danshou) 1–3, Shueisha, are only available in Japanese. Anime scenes (episodes) cited are FUNimation (en-us) editions, unless otherwise noted.
- ↑ Claymore 2, Scene 7, p. 62
- ↑ Claymore 2, Tokyopop, Scene 7, p. 62
- ↑ Claymore 2, Ediciones Glénat España, Scene 7, p. 62
- ↑ Claymore 2, Glénat Édition Française, Scene 7, p. 62
- ↑ Claymore 2, Star Comics, Scene 7, p. 62
- ↑ Claymore 2, Scene 6, p. 62
- ↑ Claymore 3, Scene 10, p. 19
- ↑ Claymore 5, Scene 25, pp. 113–114; Claymore, Anime Scene 9
- ↑ Claymore 2, Scene 8, p. 149; Claymore, Anime Scene 4
- ↑ Claymore 2, Scene 5, pp. 15–18; Claymore, Anime Scene 3
- ↑ Claymore 2, Scene 5, p. 23; Claymore, Anime Scene 3
- ↑ Claymore 2, Scene 5, pp. 33–34; Claymore, Anime Scene 3
- ↑ Claymore 2, Scene 5, pp. 38–43; Claymore, Anime Scene 3
- ↑ Claymore 2, Scene 6, p. 62; Claymore, Anime Scene 3
- ↑ Claymore 2, Scene 6, p. 79; Claymore, Anime Scene 3
- ↑ Claymore 2, Scene 7, p.82; Claymore, Anime Scene 3
- ↑ Claymore , Scene 7, pp. 95–98; Claymore, Anime Scene 3
- ↑ Claymore 2, Scene 8, pp. 133–143; Claymore, Anime Scene 4
- ↑ Claymore 2, Scene 8, p. 153; Claymore, Anime Scene 4
- ↑ Claymore 2, Scene 8–Scene 9, pp. 150–165; Claymore, Anime Scene 4
- ↑ Claymore 2, Scene 9, p. 175; Claymore, Anime Scene 4
- ↑ Claymore 2, Scene 9, pp. 180–183; Claymore, Anime Scene 4
- ↑ Claymore 3, Scene 10, pp. 15–20; Claymore, Anime Scene 4
- ↑ Claymore 3, Scene 10, pp. 36–37; Claymore, Anime Scene 4
- ↑ Claymore 5, Scene 25, pp. 113–114; Claymore, Anime Scene 9