| Galk | |
|---|---|
 Galk | |
|
VIZ Media name |
Galk[1] (en-us |
|
Variant |
Galk[2] (de |
|
Original name |
ガーク[11] Gāku |
|
Rank |
Unknown |
|
Current status |
Alive |
|
Ties |
Church of Rabona |
|
Duties |
Guard |
|
Technique |
Sword, spear |
|
Quote |
A faithful heart draws strength. However faintly it may beat, there's still hope.[12] |
|
Anime voice |
Sebastian Jacob (de), |
|
First appearance |
|
Etymology[]
ガーク transliterates from "Gerke," from Old High German element ger (spear).
"Gerke" common US last name. Common first name in Europe of either gender. Feminine first name in Netherlands ![]() .
.
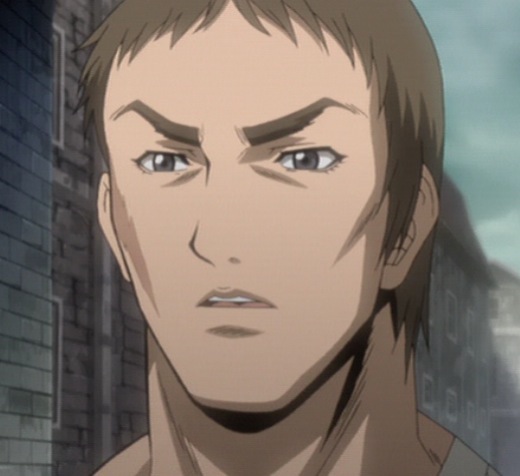
Appearance[]
Tall and well-muscled. Handsome craggy face, despite scars. Uniform is plate armor styled in the 15–16th century, European manner. See illustration below.
Personality[]
Mature, balanced personality that avoids emotional extremes, unlike his associate Sid.
History[]
Early life unknown. Appears to be an officer of unknown rank in the Rabona guards.
Voracious Eater[]
Covert operation[]
Clare is on a covert operation in Rabona.
First fight with Clare[]
Galk and Sid attack Clare, who returns from night interview with Father Vincent. Sid throws three knives, which Clare catches and throws back.[13] Later that night, two guards are killed by the Voracious Eater.[14] 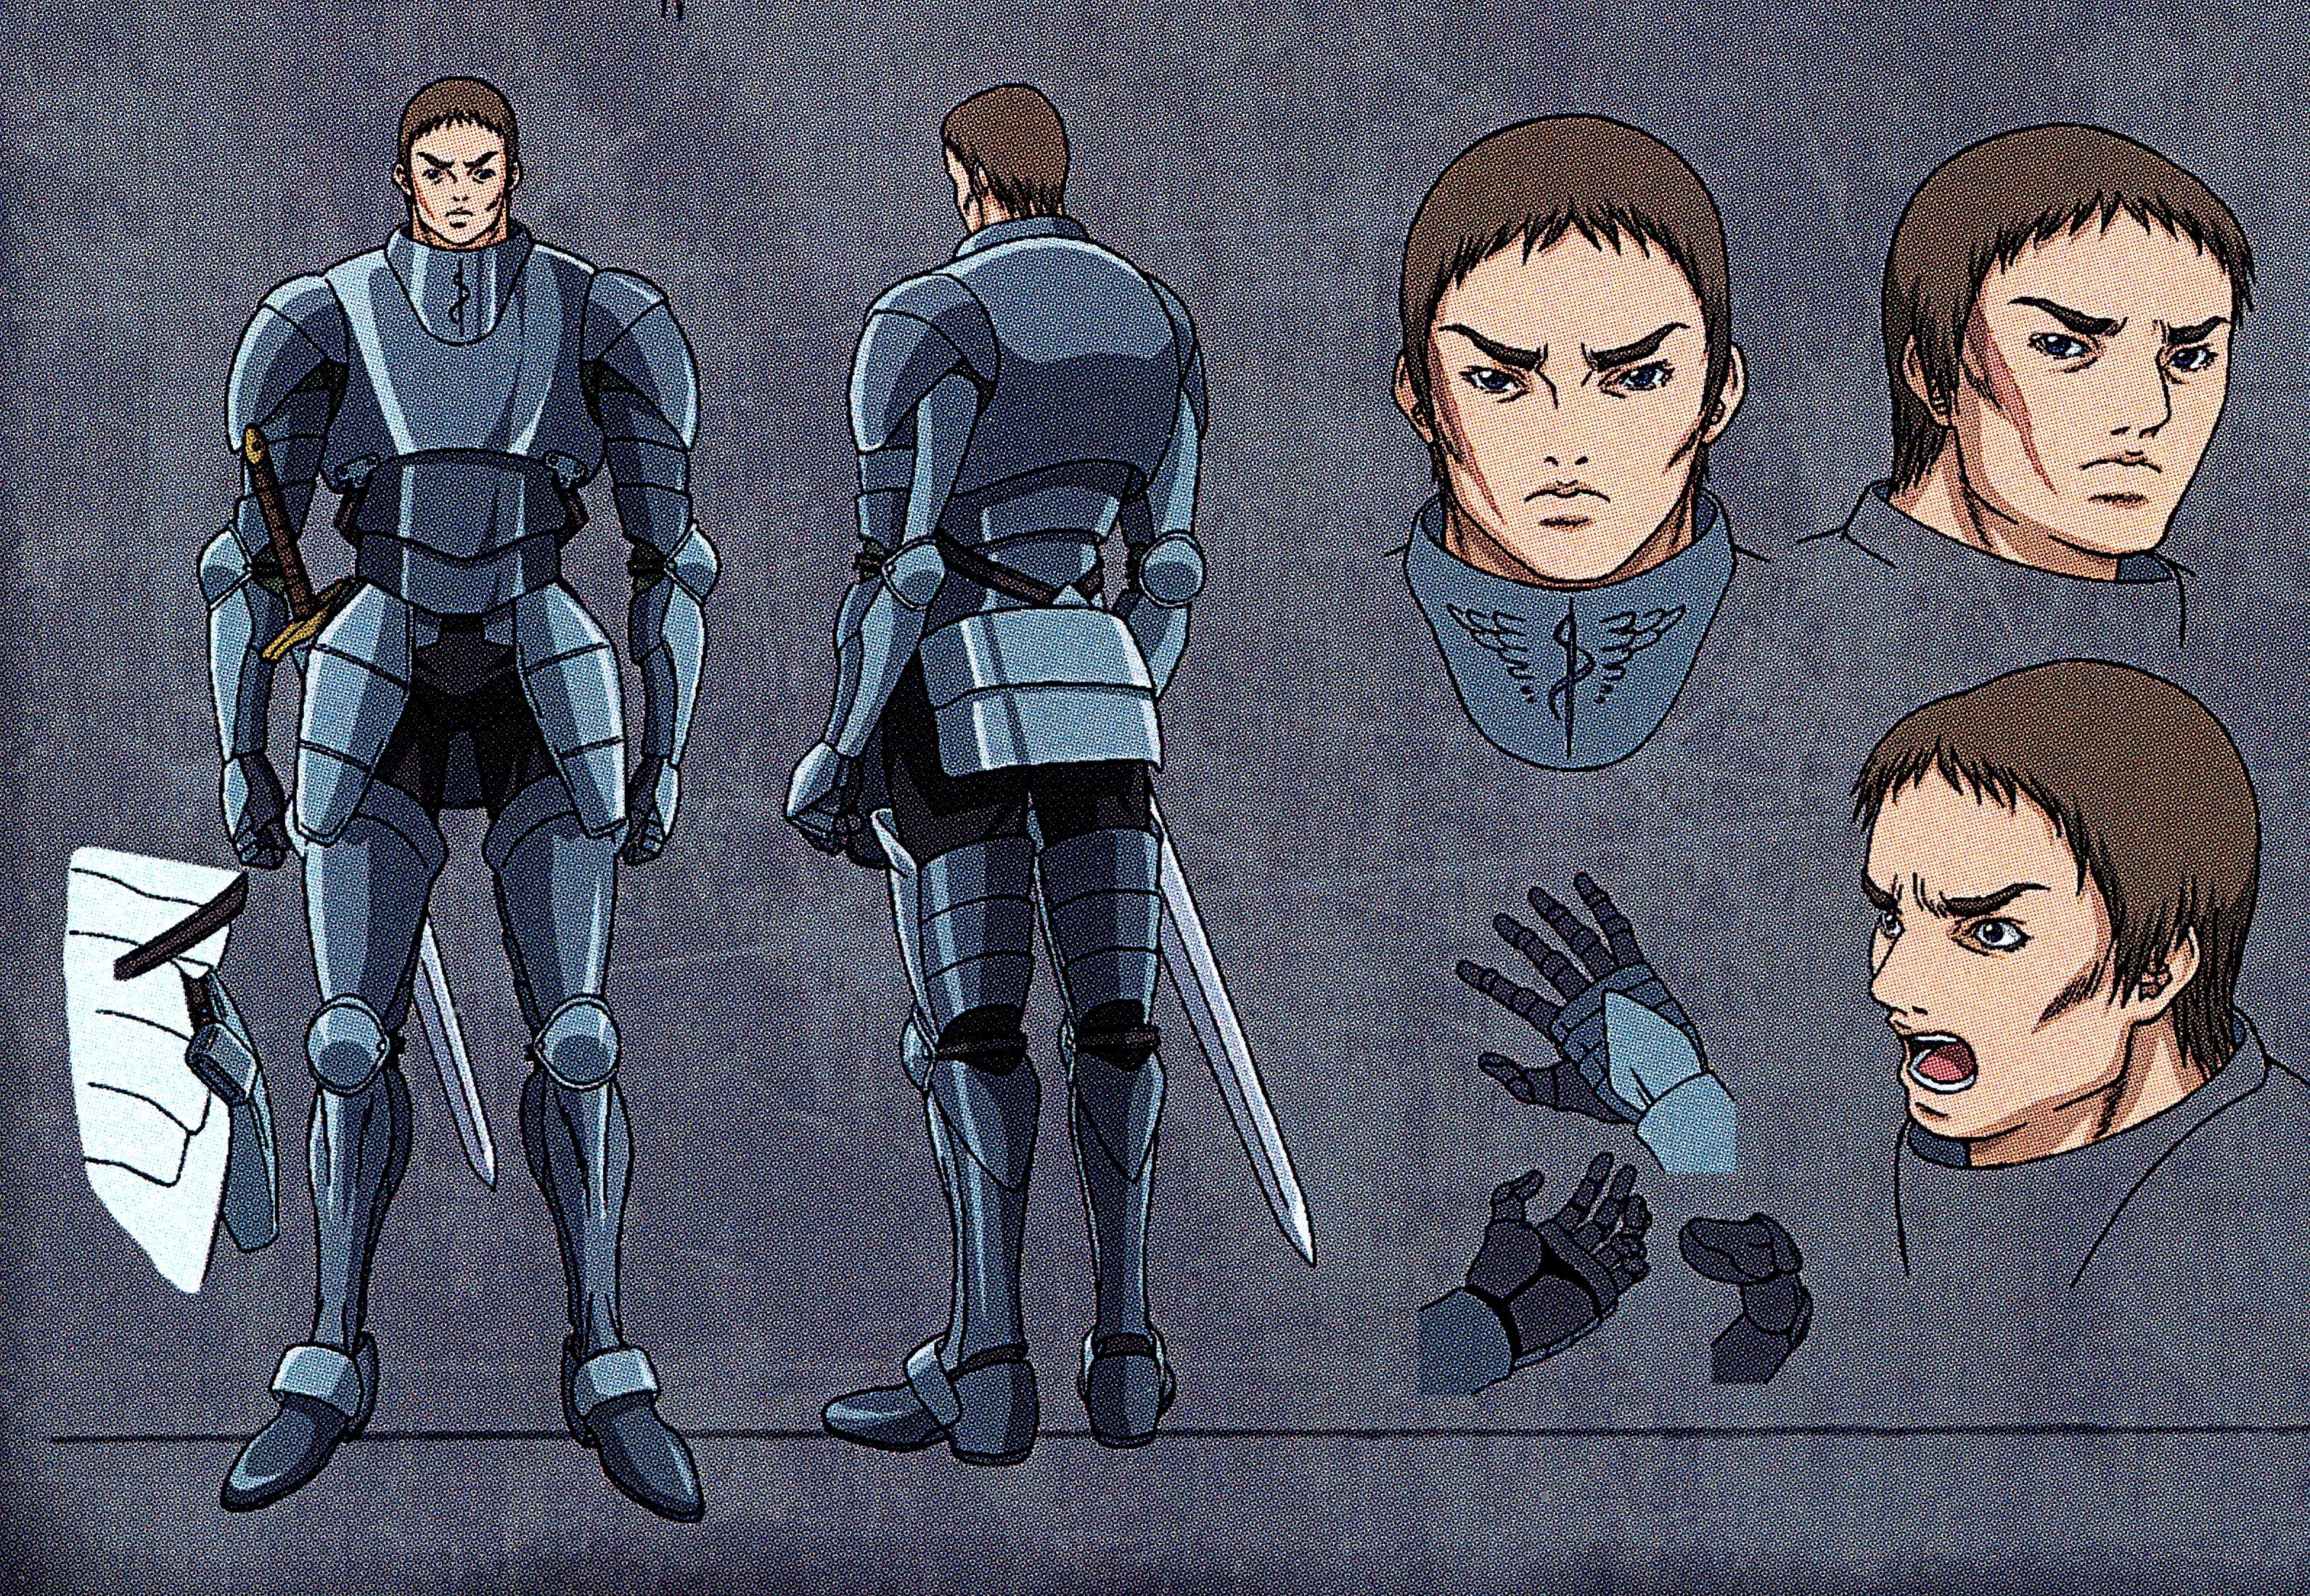
Galk in armor
Next morning, Sid interrogate Clare at inn. Gets into fight with Raki. Galk restrains Sid.[15]
Second fight[]
Leaping among the rooftops, Clare heads for cathedral. Galk and Sid intercept her again. While deflecting their attacks, another victim screams. Clare races inside cathedral, where Voracious Eater kills again.[16]
The Yoma attacks from behind. Galk and Sid arrive. Clare saves both from fatal attacks, but is wounded by the Yoma. She is left unconscious.[17]
Despite Sid's protests, Galk brings Clare to Vincent's bedroom,[18] where she remains comatose.

From cold open of Anime Scene 4
Examination[]
With Raki at her bedside, Clare regains consciousness after a 2-day coma.[19]
Staff meeting[]
Cathedral staff have surprise meeting. Despite Father Rodo's protests, Clare, not fully recovered from her injuries, exams each suspect—including Bishop Kamuri and even Vincent—but everyone proves human. Yet all have a Yoma scent.[20] The situation turns ugly as Rado verbally attacks Vincent.
Clare finally reaches the last possibility. If Yoma can impersonate the living, what if one impersonates the dead?[21]
Resurrection[]
In the baptismal chamber, the Yoma, posing as a corpse, rises from a coffin. He attacks Raki, but Clare arrives in time. Galk and Sid then arrive and the three fight the Yoma.[22]
The Yoma takes Galk's sword and fights Clare, armed only with knives.[23]
Surprise[]
Raki gives Galk a statue, which Galk throws to Clare. When the Yoma strikes the statue with the sword, the statue breaks apart, revealing a Claymore sword.[24]
Clare cuts off the Yoma's arm. But the Yoma still holds off his attackers with his extensible claws.[25]
Galk's stratagem[]
Galk inexplicably charges the Yoma, who pierces Galk's body. Claws caught in Galk's armor, Galk gives the signal—Clare attacks. She cuts off the Yoma's other arm. Then cuts the Yoma in two.[26]
Awakening[]
The combat won, Clare now begins to awaken. She tells Galk to kill her, but Raki intervenes and clings to Clare, now turning into a Yoma. Suddenly, Yoma power explodes.
To everyone's surprise, Clare is back to normal.[27]
Farewell[]
Day. Vincent, Galk and Sid say goodbye to Clare and Raki. In the anime, Galk gives Raki a sword as a parting gift.[28]
Agatha[]
Galk meets Claymore warriors afters 7-year timeskip.
Mystery[]
Sid, after helping Clarice and Miata escape guards, takes them to Galk's house. Galk says locals have disappeared and suspects a Yoma. Sid confirms that a woman of Galatea's description lives in town.[29]
Elsewhere, Galatea says farewell to orphans leaving church. And to Father Mohr. Clarice and Miata arrive as expected.[30]
Complication[]
Galatea reveals she released Yoma energy, tricking Organization to send a purge team to Rabona. She hoped they would fight Agatha instead. But when Agatha appears as crab-like awakened being, Clarice and Miata ignore her and attack Galatea. 3-way fight develops as Galatea fights both them and Agatha.[31]
Galk leads counterattack—a diversion. Sid climb on Agatha and attacks human appendage. But tentacles ensnare him. Galatea throws Galk to block Miata, while Galatea frees Sid. She then throws Sid to Clarice.[32]
Agatha defeats everyone. Holy City defenseless.[33]
Surprise visitors[]
Clare and Ghosts show up.[34] They immobilize Agatha by cutting off her legs.
Agatha abandons her crab-form and contracts into a mummy, with tape-like tentacles. As the Ghosts whittle down this false body, Agatha escapes in her true human form. She takes Galatea hostage. But Clare, per Galatea's suggestion, uses Quicksword to kill Agatha.[35]
After Rabona is saved, Sid and Galk celebrate at a tavern party with the Ghosts. Sid tells Clare that Raki was in town looking for her. Galk reassures Clare that she and Raki must meet again.[36]
Revenge[]
After Miria's failed attack on Organization, Awakened and Yoma invade Rabona. Galk, Sid and guards defend city with Claymore warriors. Arrival of Ghosts finally defeats invasion.[37]
Galatea suspects the Organization is behind invasion.[38]
Return to Rabona[]
Old comrades[]
After the destruction of the Organization, the Ghosts return to the Holy City. Inside the deserted city, the Ghosts are greeted by a tearful Clarice, then Galatea, Galk and Sid. When Miria asks what happened, Galatea leads the Ghosts to the outskirts of town, where Priscilla is emerging from the Yoma cocoon.[39]
Meeting[]
That night in the town hall, Miria explains the situation to the Rabona guards and the Claymore warriors. But Sid insists that the human guards will stay and defend the city with their lives, repeating what he said during the early Clare arc.[40] Miria apologizes for asking them to leave and even allows Clarice to stay.[41]
Then Sid tells Miria that upon Miria's request, he and the guards gathered something unnamed to be used for some unknown purpose.[42]
References[]
Tankōbon Claymore volumes cited are VIZ Media (en-us) editions, unless otherwise noted. Manga scenes (chapters) not yet translated cite Shueisha tankōbon (ja) editions. Manga scenes not yet published in tankōbon form cite Jump SQ (ja) editions. Fragments of Silver Omnibus (総集編 銀の断章 Gin no Danshou) 1–3, Shueisha, are only available in Japanese. Anime scenes (episodes) cited are FUNimation (en-us) editions, unless otherwise noted.
- ↑ Claymore 2, Scene 6, p. 55
- ↑ Claymore 2, Tokyopop, Scene 6, p. 55
- ↑ Claymore 2, Ediciones Glénat España, Scene 6, p. 55
- ↑ Claymore 2, Glénat Édition Française, Scene 6, p. 55
- ↑ Claymore 2, Star Comics, Scene 6, p. 53
- ↑ Claymore, Yamato Video, Anime Scene 3
- ↑ Claymore 2, Daewon CI, Scene 6, p. 55
- ↑ Claymore 2, Comix-ART, Scene 6, p. 55
- ↑ Claymore 2, Culturecom, Scene 6, p. 55
- ↑ Claymore 2, Ever Glory, Scene 6, p. 55
- ↑ Claymore 2, Shueisha, Scene 6, p. 55
- ↑ Claymore 2, Scene 7, p. 117
- ↑ Claymore 2, Scene 5, pp. 38–43; Claymore, Anime Scene 3
- ↑ Claymore 2, Scene 6, pp. 47–50; Claymore, Anime Scene 3
- ↑ Claymore 2, Scene 6, pp. 54–58; Claymore, Anime Scene 3
- ↑ Claymore 2, Scene 6, p. 68–81; Claymore, Anime Scene 3
- ↑ Claymore 2, Scene 7, pp. 92–97; Claymore, Anime Scene 3
- ↑ Claymore 2, Scene 7, p. 104; Claymore, Anime Scene 4
- ↑ Claymore 2, Scene 7, p. 119; Claymore, Anime Scene 4
- ↑ Claymore 2, Scene 8, pp. 129–143; Claymore, Anime Scene 4
- ↑ Claymore 2, Scene 8, p. 146; Claymore, Anime Scene 4
- ↑ Claymore 2, Scene 8–Scene 9, pp. 150–165; Claymore, Anime Scene 4
- ↑ Claymore 2, Scene 9, p. 175; Claymore, Anime Scene 4
- ↑ Claymore 2, Scene 9, pp. 180–183; Claymore, Anime Scene 4
- ↑ Claymore 3, Scene 10, pp. 15–20; Claymore, Anime Scene 4
- ↑ Claymore 3, Scene 10, pp. 36–37; Claymore, Anime Scene 4
- ↑ Claymore 3, Scene 11, pp. 46–58; Claymore, Anime Scene 4
- ↑ Claymore 3, Scene 11, pp. 64–69; Claymore, Anime Scene 4
- ↑ Claymore 14, Scene 74, p. 21
- ↑ Claymore 14, Scene 74, p. 24
- ↑ Claymore 14, Scene 75, pp. 63–66
- ↑ Claymore 14, Scene 76, pp. 55–59
- ↑ Claymore 14, Scene 77, p. 124
- ↑ Claymore 14, Scene 77, pp. 126–127
- ↑ Claymore 15, Scene 78, pp. 34–37
- ↑ Claymore 15, Scene 80, pp. 81–86
- ↑ Claymore 20, Scene 108, pp. 10–24
- ↑ Claymore 20, Scene 108, p. 35
- ↑ Jump SQ, August 2012, Claymore, Scene 128, pp. 334–337
- ↑ Claymore 2, Scene 9, p. 170; Claymore, Anime Scene 3
- ↑ Jump SQ, August 2012, Claymore, Scene 128, pp. 344–349
- ↑ Jump SQ, August 2012, Claymore, Scene 128, pp. 350